Few things can ruin a perfect day on the water faster than an overheating outboard motor. That tell-tale stream sputtering to a trickle, the alarm blaring, and the sudden loss of power – it's a boater's nightmare. Often, the culprit behind these overheating headaches is a small, yet incredibly vital component: the water pump impeller.
The water pump impeller is the heart of your outboard's cooling system. Knowing how to inspect and replace it is a fundamental skill for any DIY outboard mechanic, preventing costly damage and ensuring reliable performance.
Let's dive into the function of this unsung hero, signs of wear, and a step-by-step guide to inspection and replacement.
The Impeller's Vital Role: Your Outboard's Cooling Heart
Your outboard motor relies on a constant flow of cool water to prevent overheating. This water is drawn from the surrounding lake or ocean, circulated through the engine block, and then expelled. The component responsible for this crucial circulation is the water pump impeller, located within the lower unit.
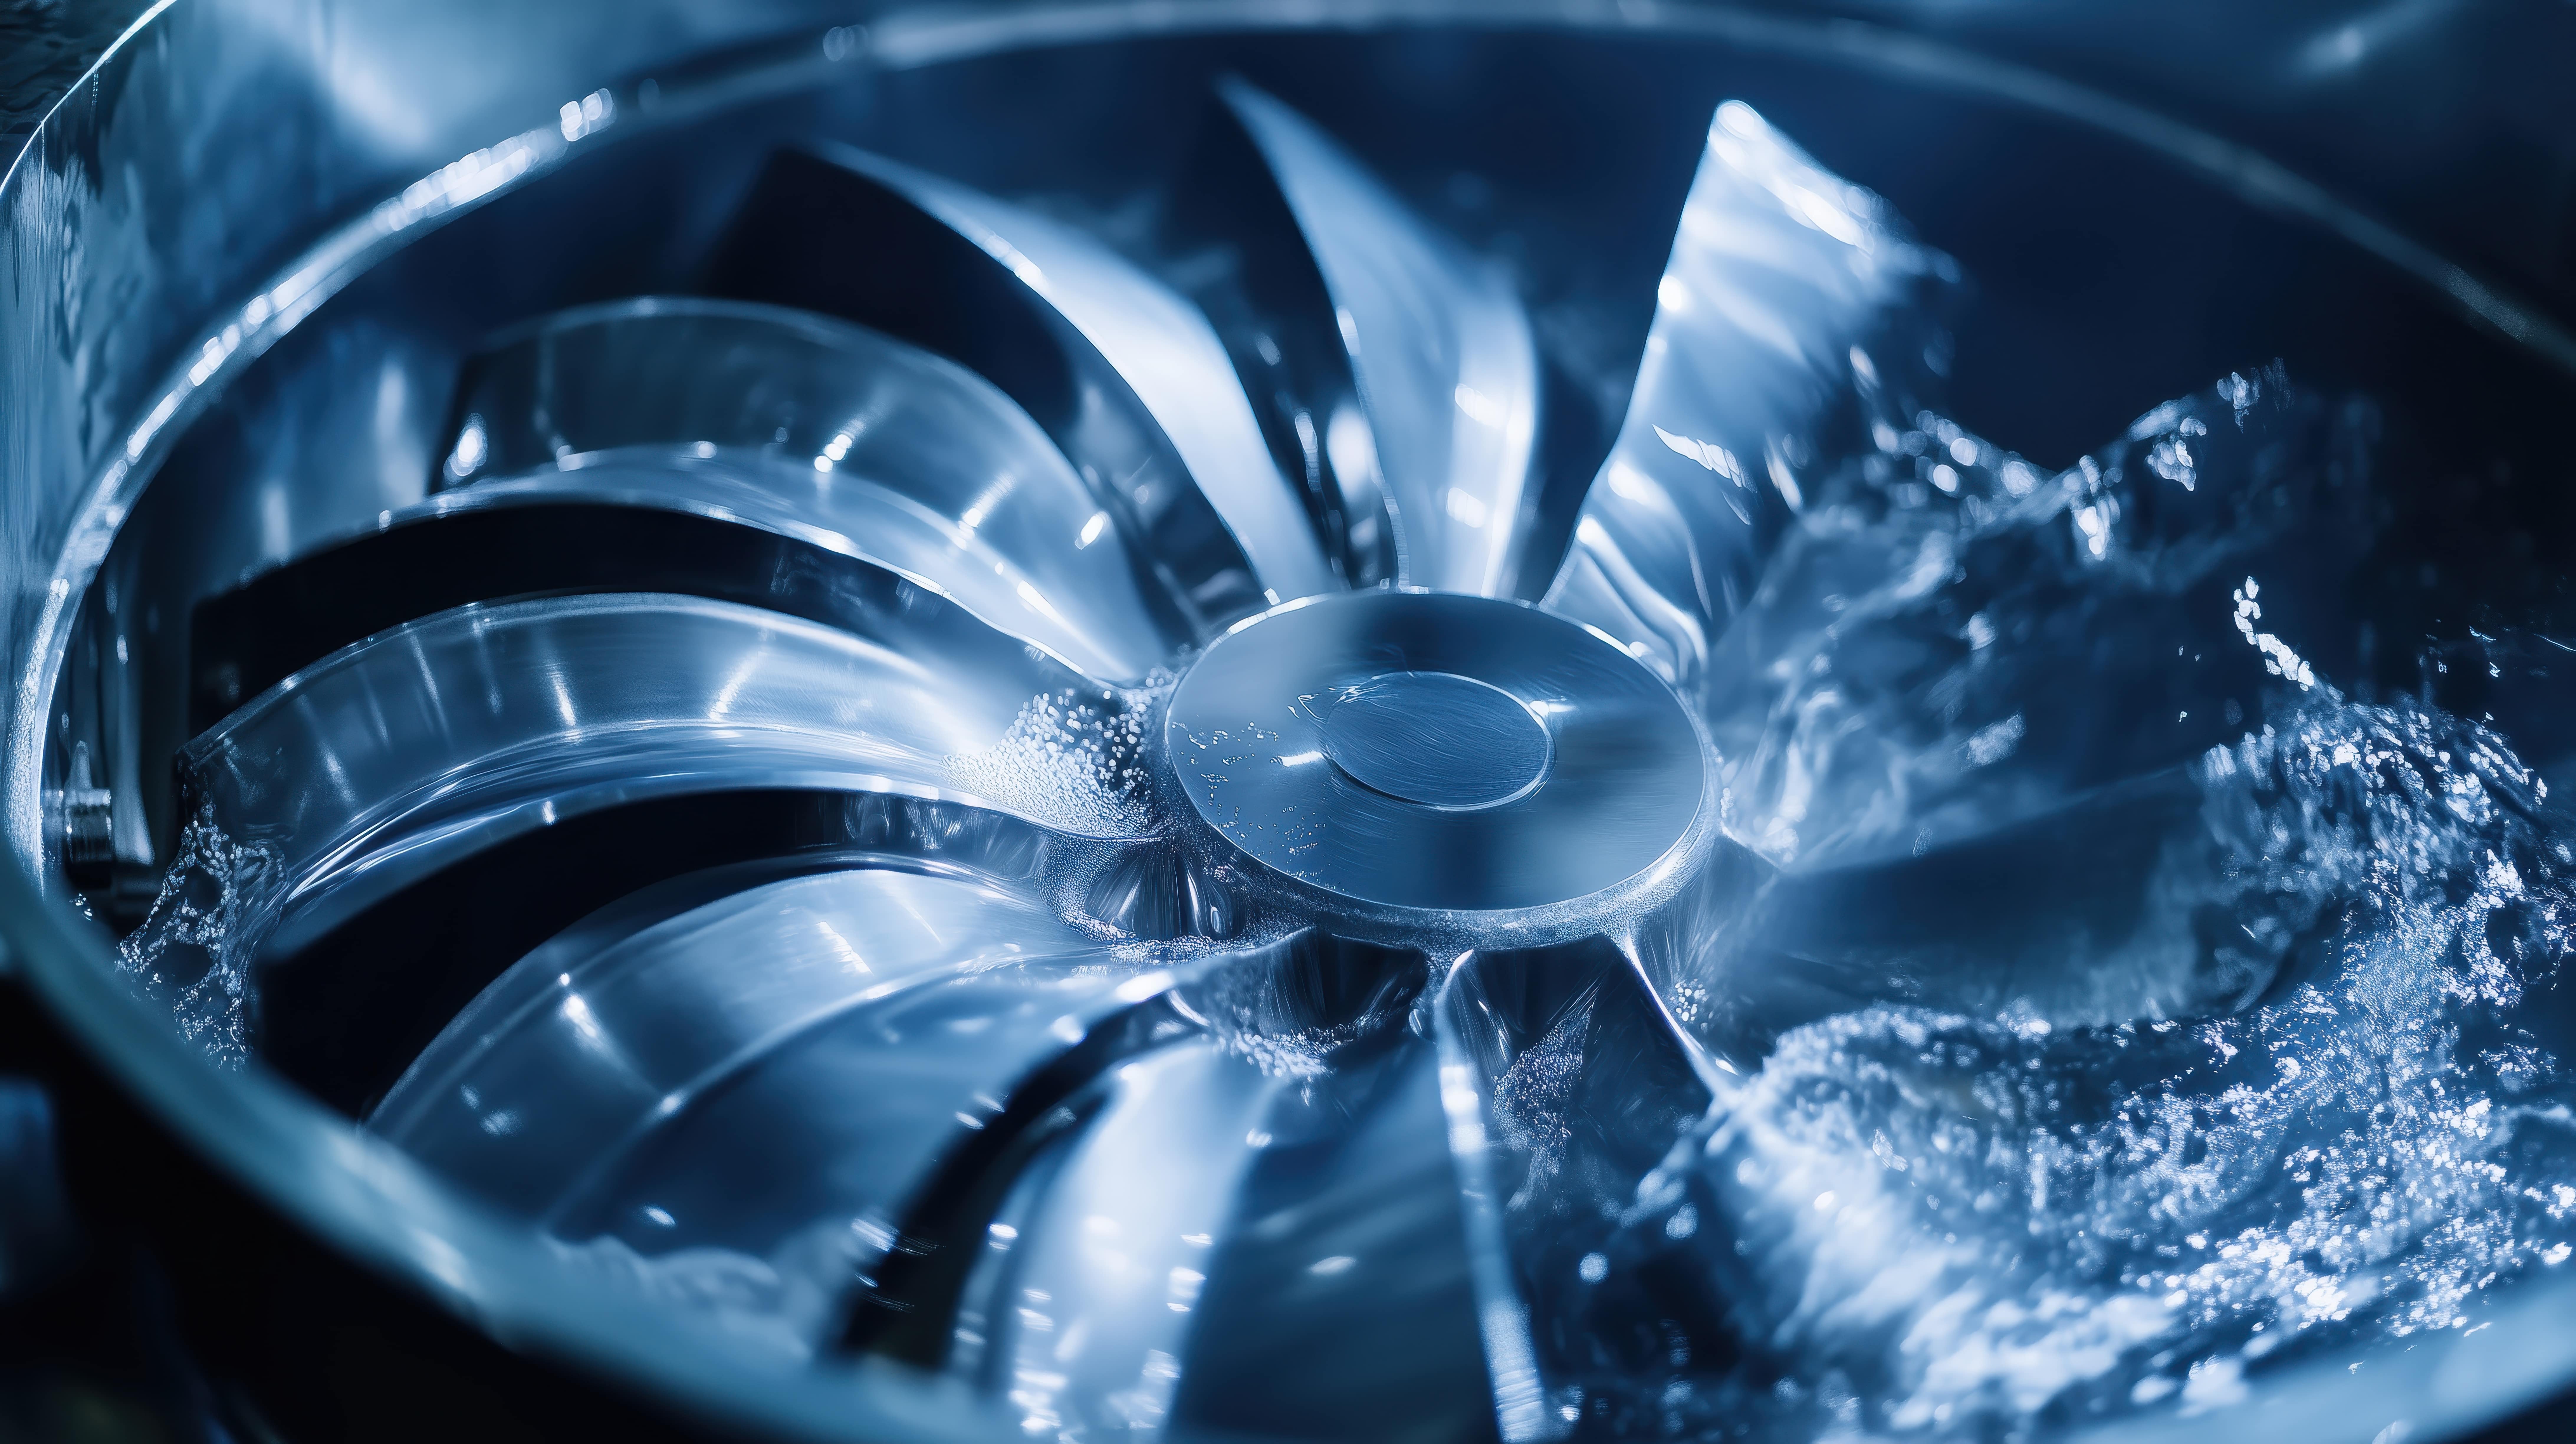
- Function: The impeller is a rubber (or sometimes neoprene) rotor with flexible blades, often resembling a small fan or star. As the engine runs, the impeller spins within a housing, drawing water in through the lower unit's intake screens and pushing it up through the drive shaft housing into the powerhead. It's essentially a centrifugal pump.
- Why it's Critical: Without a properly functioning impeller, water flow to the engine is restricted or stops entirely. This leads to a rapid increase in engine temperature, causing alarms, potential power reduction (limp mode), and ultimately, severe and expensive engine damage if not addressed immediately.
Signs of Wear and Tear: When Your Impeller Needs Attention
Impellers are wear items. Their rubber blades can become brittle, crack, or lose flexibility over time due to heat, friction, and exposure to chemicals or debris.
- Weak or Intermittent Tell-Tale Stream: This is the most common and obvious sign. The "tell-tale" (or "pee hole") is the small stream of water exiting the motor, indicating proper cooling water flow. If it's weak, sputtering, or stops entirely while the engine is running, your impeller is likely failing.
- Overheating Alarms: Your engine's alarm system is designed to alert you to critical issues, including overheating. If the temperature alarm sounds, your impeller is already struggling.
- Higher-Than-Normal Engine Temperature Gauge Readings: If your boat has a temperature gauge, consistently elevated readings are a red flag.
- Age/Hours: Even if there are no obvious symptoms, manufacturers recommend replacing the impeller every 100-300 hours of operation or every 1-3 years, whichever comes first. This is cheap insurance against major engine damage. Saltwater use or frequent shallow-water operation can accelerate wear.
Impeller Replacement Guide: A Step-by-Step Overview
Replacing the impeller is a common DIY task. While specific steps may vary slightly by outboard make and model, the general process involves dropping the lower unit. Always consult your specific outboard's service manual for detailed instructions and torque specifications.
Tools & Supplies You'll Likely Need:
- Socket wrench set (metric and/or standard)
- Screwdrivers (Phillips, flathead)
- Pliers
- Rubber mallet
- New impeller kit (includes impeller, gaskets, O-rings, sometimes housing)
- Marine grease
- Clean rags
- Drain pan (for gear lube)
- Shop manual for your specific outboard
General Steps:
- Preparation & Safety:
- Disconnect the battery.
- Place the outboard in neutral.
- Gather all necessary tools and the new impeller kit.
- Have your service manual open to the relevant section.
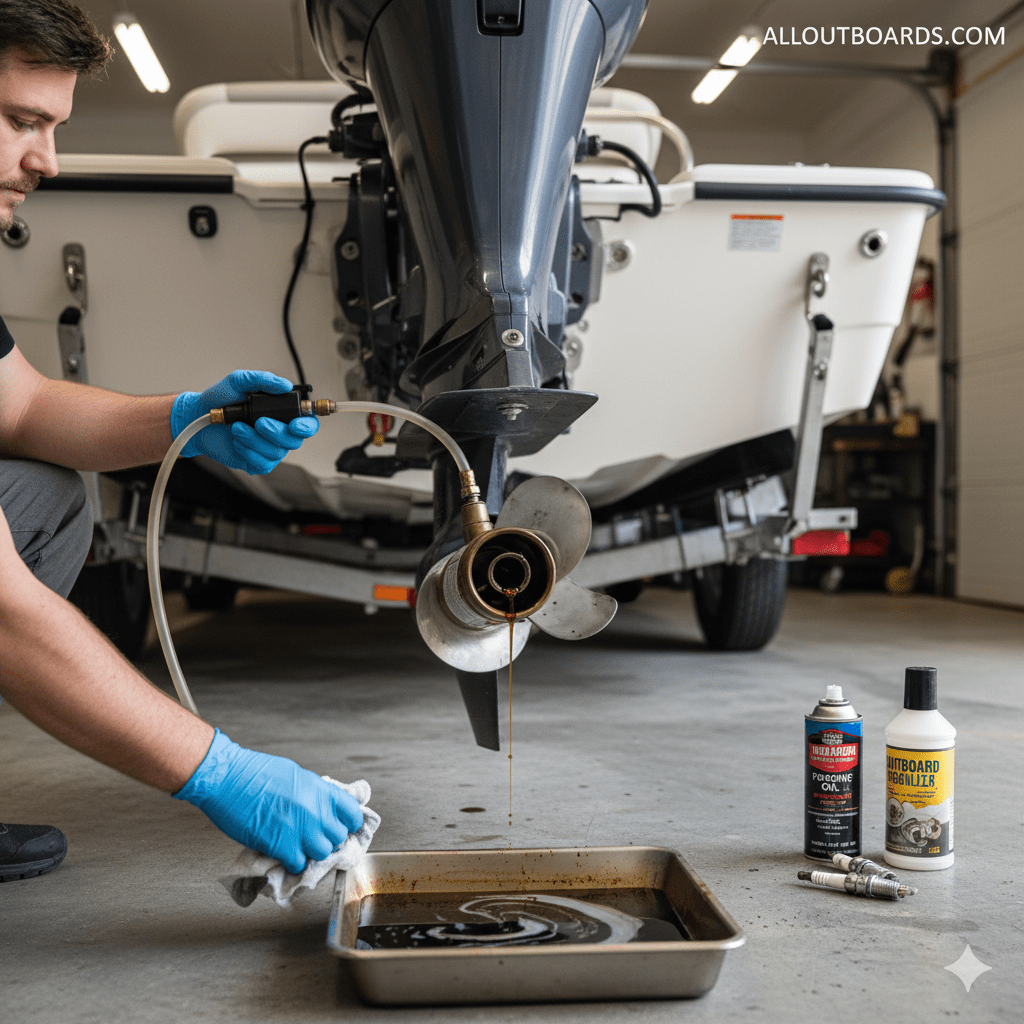
- Drain Gear Lube (Optional but Recommended): While not always strictly necessary for impeller replacement, it's good practice to drain the lower unit gear lube. This allows you to inspect its condition (milky oil indicates water intrusion, which might require further investigation of seals).
- Remove Propeller: Remove the cotter pin, castle nut, and thrust washer. Slide the propeller off.
- Remove Lower Unit Bolts: Locate and remove all bolts securing the lower unit to the midsection. There are typically bolts on the sides and often one hidden under a trim tab.
- Separate Lower Unit: Carefully pry the lower unit down and away from the midsection. It may require some gentle wiggling or a light tap with a rubber mallet. Watch for the shift shaft and drive shaft as they disengage.
- Access the Water Pump Housing: Once the lower unit is off, you'll see the water pump housing (usually a plastic or metal casing) at the top of the lower unit. Remove the bolts securing it.
- Remove Old Impeller: Lift off the housing. The old impeller will be inside. Note its orientation (which way the blades are curved/bent). Pull it straight off the drive shaft. Inspect it for cracks, missing pieces, or brittleness.
- Clean & Inspect: Clean the impeller housing thoroughly. Inspect the housing and wear plate for any grooves, scoring, or damage. Replace the entire housing if damaged (often included in a comprehensive kit).
- Install New Impeller:
- Apply a thin coat of marine grease to the inside of the new impeller housing and the new impeller's inner hub.
- Slide the new impeller onto the drive shaft, ensuring the keyway aligns.
- Orient the impeller blades correctly (they typically bend in one direction when spinning in the housing).
- Carefully seat the housing over the impeller, ensuring the blades bend in the correct direction as it slides down.
- Install new gaskets and O-rings from the kit.
- Reattach Lower Unit:
- Align the drive shaft and shift shaft with their respective openings in the midsection. This can be tricky and may require wiggling the propeller shaft or rotating the flywheel slightly.
- Gently push the lower unit back into place, ensuring it seats fully.
- Reinstall all lower unit bolts and torque them to the manufacturer's specifications. This is crucial to prevent water intrusion or damage.
- Reinstall Propeller: Slide the thrust washer, propeller, and castle nut back on. Install a new cotter pin.
- Test: Reconnect the battery. Start the engine (with ample cooling water, either in the water or with muffs). Immediately check for a strong, steady tell-tale stream. Monitor engine temperature.
Regular impeller inspection and timely replacement are fundamental to preventing overheating and extending the life of your outboard motor. It's a relatively straightforward DIY task that provides immense peace of mind on the water.
At All Outboards, we're dedicated to helping you master your outboard. Explore our extensive guides for detailed, model-specific instructions and troubleshooting tips. Happy boating!
Want more outboard content? Check out our Instagram at @alloutboards!
Subscribe to our newsletter and receive a selection of cool articles every weeks.

