
Repowering your boat with a new or used outboard motor is an exciting prospect, promising renewed performance and countless adventures on the water. You've picked the perfect engine, matched the horsepower, and envisioned those smooth cruises. But then comes the wiring – a tangle of connections that can quickly turn excitement into frustration if not approached correctly.
The electrical aspects of an outboard repower can be intimidating, but with the right knowledge and a methodical approach, you can ensure a smooth, reliable, and safe wiring job.
Here are essential tips to help you conquer your outboard repower wiring woes.
1. Plan, Plan, Plan: The Blueprint for Success
Before you even touch a wire, a solid plan is your most valuable tool.
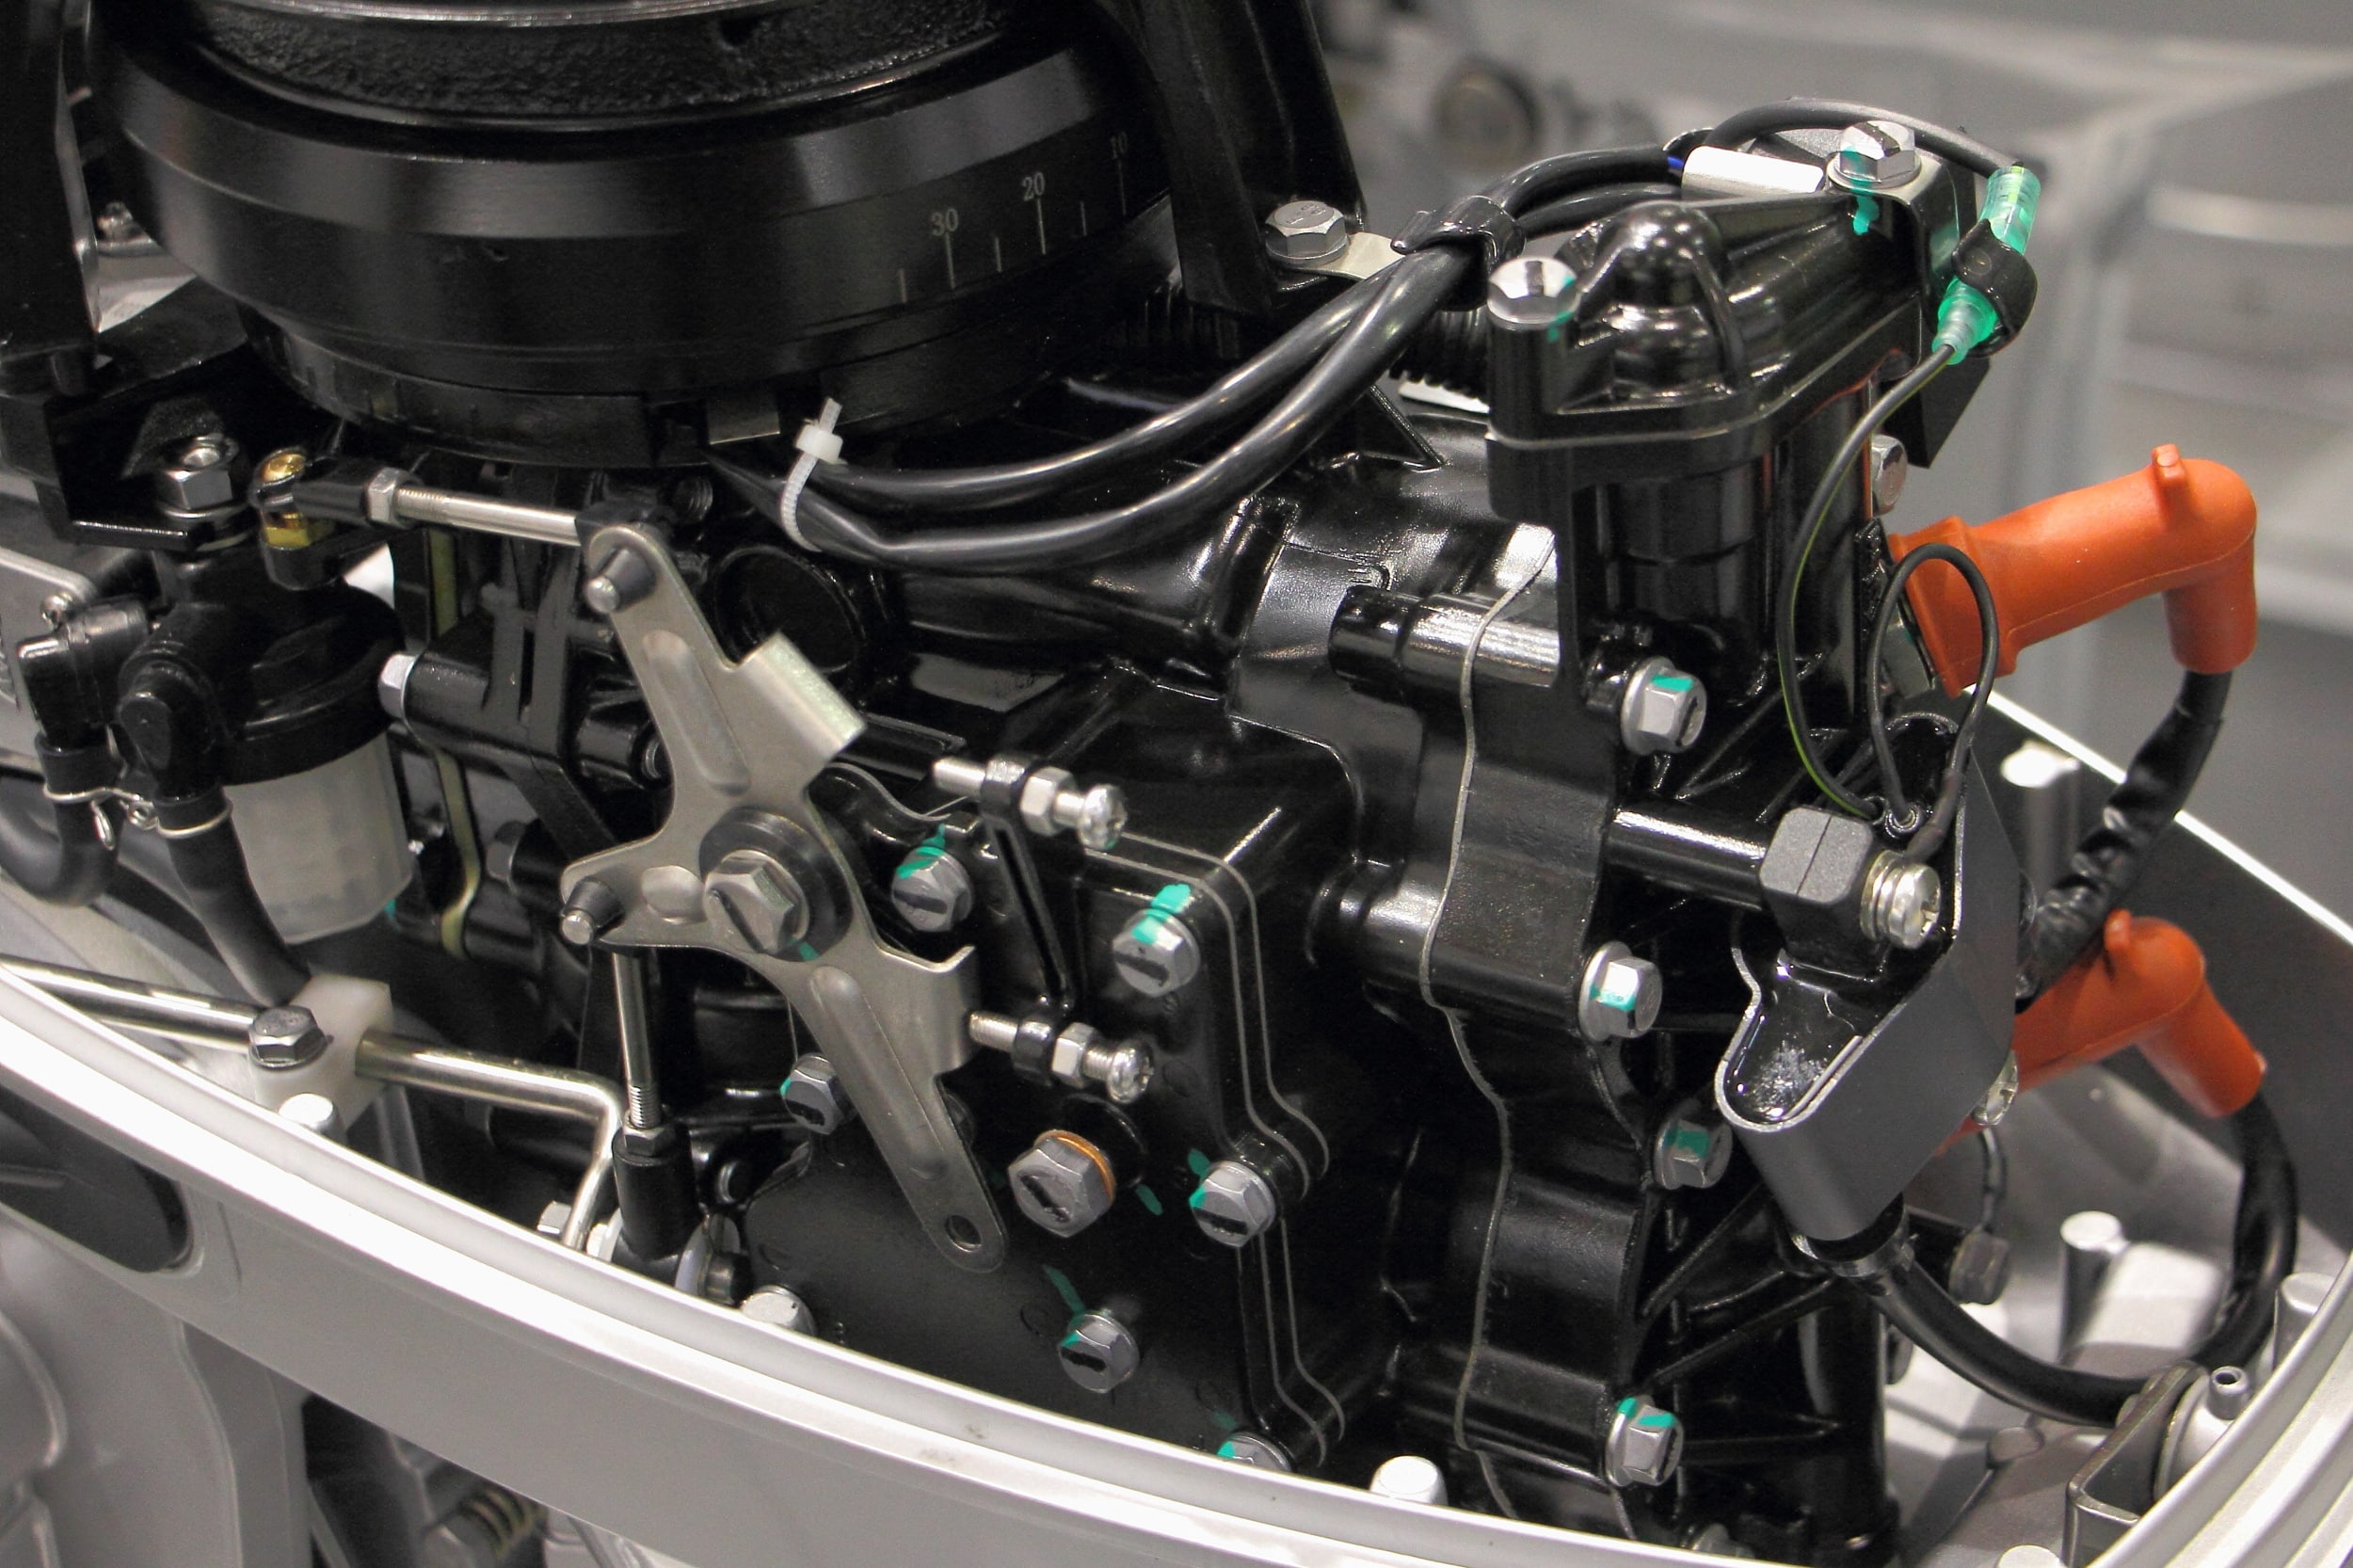
- Consult Your Manuals (Old & New): Obtain the wiring diagrams for both your old outboard (if applicable) and your new/replacement outboard. Compare them. Pay close attention to wire colors, connector types, and pin assignments. Your new outboard's manual is your bible.
- Identify Key Connections: Understand what each major harness and wire is for: battery connections (power), ignition, throttle/shift control, trim/tilt, gauges, NMEA 2000 (if applicable), and accessory power.
- Draw It Out: Sketch a simple diagram of your boat's existing electrical system and how the new outboard's wiring will integrate. This visual aid will prevent confusion.
- Label Everything (Before Disconnecting!): As you disconnect wires from the old motor or before installing the new, use numbered labels, colored tape, or a permanent marker to clearly identify each wire and its corresponding connection point on the boat. "Future you" will thank you.
2. Quality Components: Don't Skimp on the Essentials
Your wiring system is only as strong as its weakest link. Using marine-grade components is non-negotiable for safety and longevity in a harsh marine environment.
- Marine-Grade Wire: Use only tinned copper wire, which resists corrosion far better than untinned copper. Ensure the correct gauge (thickness) for each circuit to handle the amperage without overheating. Refer to your manual's specifications for wire gauge.
- Heat Shrink Connectors: These are superior to standard crimp connectors. Heat shrink connectors create a waterproof seal, preventing corrosion and ensuring a robust connection.
- Dielectric Grease: Apply a small amount to all electrical connections (especially multi-pin connectors) to prevent corrosion and improve conductivity.
- Proper Fuses & Circuit Breakers: Ensure all circuits are properly protected with the correct amperage fuses or marine-grade circuit breakers. Never bypass or use oversized fuses.
- Corrosion-Resistant Terminals: Use high-quality, marine-grade battery terminals and other connection points.
3. The Right Tools for the Job: Precision Over Frustration
Using the correct tools ensures clean, secure connections and prevents damage.
- Quality Wire Strippers: Essential for cleanly removing insulation without nicking the copper strands.
- Marine-Grade Crimpers: Invest in a good ratchet-style crimper that creates strong, secure crimps on connectors. Avoid cheap pliers-style crimpers.
- Heat Gun: For properly sealing heat shrink connectors. A lighter is a poor substitute and can damage insulation.
- Multimeter: Absolutely vital for checking continuity, voltage, and diagnosing circuits. Learn how to use its basic functions.
- Zip Ties/Cable Clamps: For neatly routing and securing wiring harnesses, preventing chafing and tangles.
4. Routing & Securing: A Clean, Safe Installation
Proper wire routing protects your electrical system from damage and makes future troubleshooting easier.
- Avoid Chafing: Route wires away from sharp edges, moving parts, and heat sources (like the engine block). Use grommets where wires pass through bulkheads.
- Support & Secure: Use zip ties or cable clamps to secure wiring harnesses every 18-24 inches. This prevents wires from sagging, tangling, or pulling on connections.
- Drip Loops: When routing wires that might encounter moisture, create a "drip loop" – a downward curve in the wire – before it enters a connection point. This allows water to drip off rather than follow the wire into the connection.
- Accessibility: Route wires in a way that allows for future access for inspection, maintenance, or troubleshooting without dismantling the entire boat.
- Keep it Neat: A clean, organized wiring job is safer, more reliable, and a joy to work on.
5. Testing & Troubleshooting: Verify Your Work
Never assume everything works perfectly on the first try. Thorough testing is critical.
- Continuity Checks: Before applying power, use your multimeter to check for continuity on all new connections to ensure they are properly made and not shorted.
- Voltage Checks: Verify correct voltage at key points (e.g., battery terminals, ignition switch, accessory leads) once power is applied.
- Functionality Test: Systematically test every function: start the engine, check trim/tilt, engage forward/reverse, test all gauges, and any new accessories.
- Troubleshooting Common Issues: If something doesn't work, refer back to your wiring diagrams and use your multimeter to trace the circuit. Look for loose connections, blown fuses, or incorrect wiring.
Wiring an outboard repower can seem daunting, but by breaking it down into manageable steps, using the right materials and tools, and prioritizing safety, you can achieve a professional-quality job. A smooth electrical system means a smooth-running outboard and more worry-free days on the water.
At All Outboards, we're here to provide the resources and knowledge you need for every step of your boating journey. Explore our guides for more in-depth wiring diagrams and troubleshooting tips. Happy repowering!
Subscribe to our newsletter and receive a selection of cool articles every weeks.
.png)
.png)
.png)
.png)

